Creating & Deploying Shiny Apps in Python
It’s finally here! Along with it’s announced rebranding to ‘Posit’, RStudio also released it’s alpha version of ‘Shiny for Python’. Here’s how you can get started creating and deploying Shiny apps in Python.
Set-up
The first step is going to be installing the necessary packages and creating a sample application.
- Install shiny
pip install shiny
- Create starter application
shiny create app_name
- Run your new app
shiny run --reload app_name/app.py
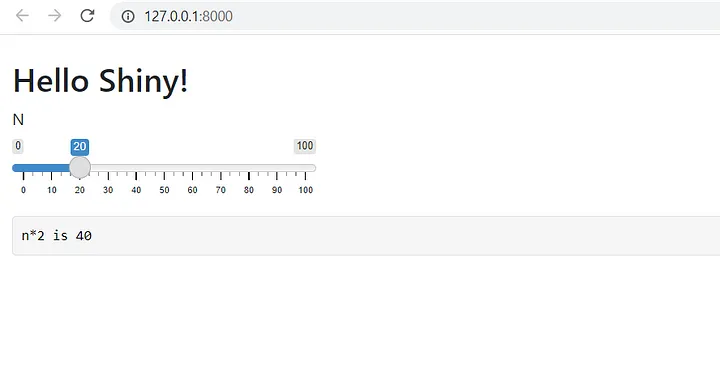
Successfully running each of the above commands will leave you with a sample app that looks like the following:
Additional set-up resources from R Studio:
Configure
The next step is to configure your local environment in preparation for deploying your newly created application.
- Install rsconnect-python
pip install rsconnect-python
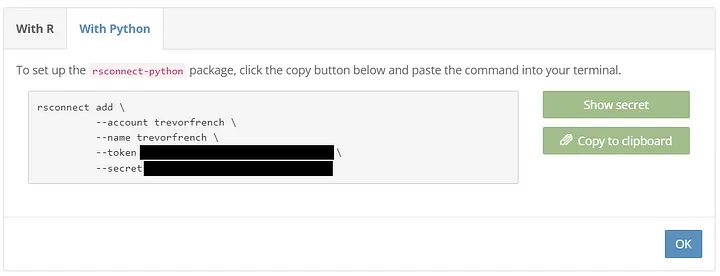
- Configure rsconnect-python
rsconnect add --account [ACCOUNT] --name [NAME] --token [TOKEN] --secret [SECRET]
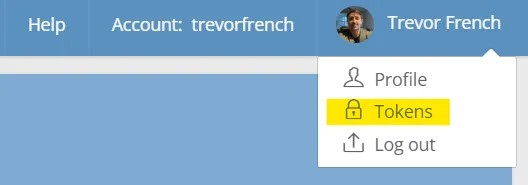
The variables can be retrieved by going to your shinyapps.io account, selecting your name in the top-right corner, and pressing “tokens”.
You will then see a screen that looks like this:
- Generate manifest file
rsconnect write-manifest shiny app_name/
After generating your manifest file, the file structure of your app should be as follows:
app_name/
   app.py
   manifest.json
   requirements.txt
Deploy
Finally, you’re going to deploy your app to shinyapps.io. Your deploy command will be structured like this:
rsconnect deploy shiny /path/to/app_name --name [NAME] --title app_name
For example:
rsconnect deploy shiny /app_name --name trevorfrench --title app_name
Additional configuration & deployment resources from R Studio:
© Trevor French.RSS